SuperChrono Precision Calculator
Set-up for for maximum precision
To get the most precise reading, you have to shoot parallel with or at a very shallow angle to the sensors. If not, the bullet will travel on a path longer than that between the two sensors and the reading will not be correct. This applies to any two-sensor setup, whether it is acoustical, optical, electromagnetic or radar.
Here’s a precision calculator to help you understand the consept. Note that the bullet path is shown as a line through the barrel to the target. This is not strictly correct but as we are only concerned about the bullet for the 20cm (8 inches) just over the sensors, this is a good enough approximation. If you are concerned about this, consider the follwing:
- The faster the bullet, the flatter the trajectory
- The slower the bullet, the smaller the effect of the aiming error
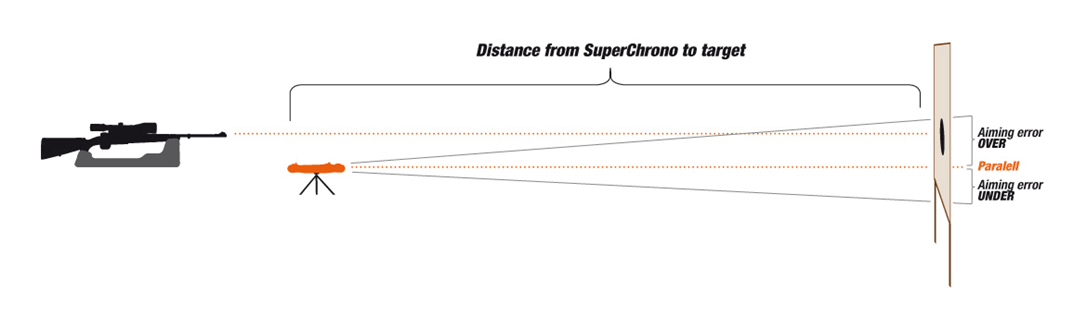
The illustration below shows two dotted, orange lines. The upper is from the muzzle to the target and depicting the bullet trajectory. The lower is through the axis of the SuperChrono. When the set-up is correct, these two are parallel. You get aiming errors when the SuperChrono is aimed either over or under the lower dotted line.
A correct setup will look as below:
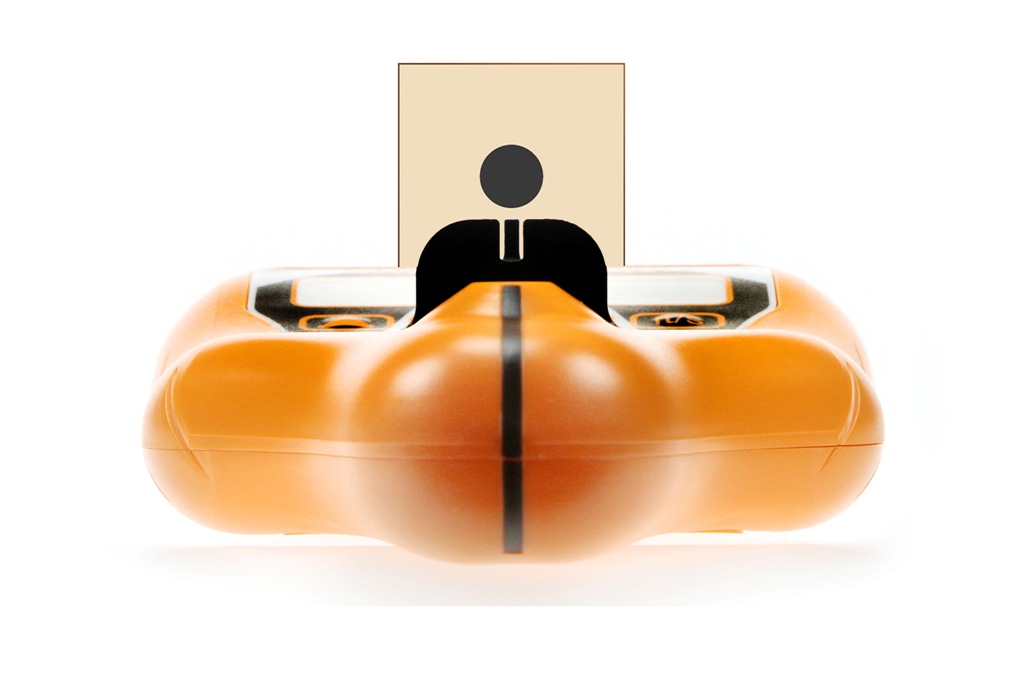
The sights may take some time getting used to if you’re not familiar with pistol shooting. After a while you’ll discover that they are amazingly accurate and that you will attain correct set-up in a breeze. Use a bipod with a ball head to sight in the SuperChrono. If you use reading glasses, you’ll find them helpful to get correct sight picture.
To see how aiming errors affect readings, enter values in the orange cells in the embedded spreadsheet below. If it fails to appear or if you have overwritten the grey cells, reload this page in your browser.
There’s a post about how to set up for extreme longe range measurements. You’ll find it here: Extreme Downrange Setup